1. Go to RSVP Page
Go to the event platform. On the left menu, click Settings > RSVP.

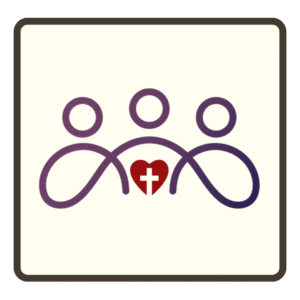
2. Activate RSVP
- Activate RSVP
Activate the “Enable RSVP” toggle. A selection of responses will be displayed for participants:
- ✅ Going
- ❌ Not Going
- ❔ Maybe
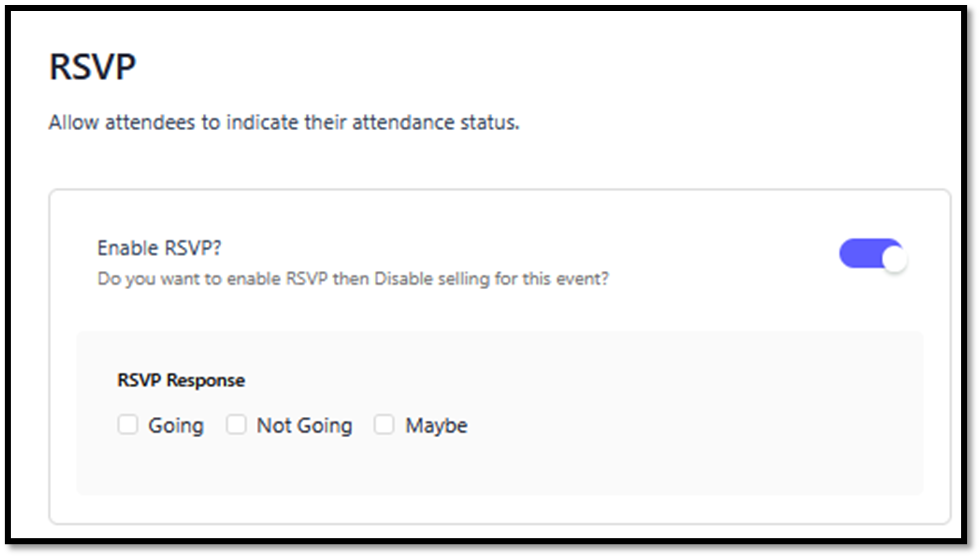
3. Show Participant List (Optional)
Enable Display Attendee List to display anyone who selects “Going”. If you want to limit the number displayed, fill in the Attendee List Limit section. Leave blank if you want to display all attendees.
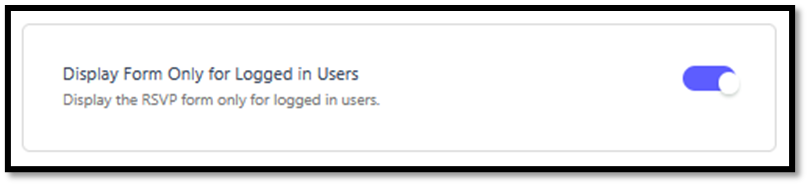
4. Restrict to Login Users Only
Enable Display Form Only for Logged in Users so that only registered users can RSVP.
5. Limit RSVP Attendee Capacity
Enable Limit RSVP Attendee Capacity.
- Enable Limit RSVP Attendee Capacity.
- Fill in the fields:
- RSVP capacity attendee limit – the maximum number of RSVP attendees.
- Maximum attendees per response – the number of attendees per one RSVP (e.g. 1 person per account).
- Attendance required to start event – the minimum number of attendees for the event to be considered valid.

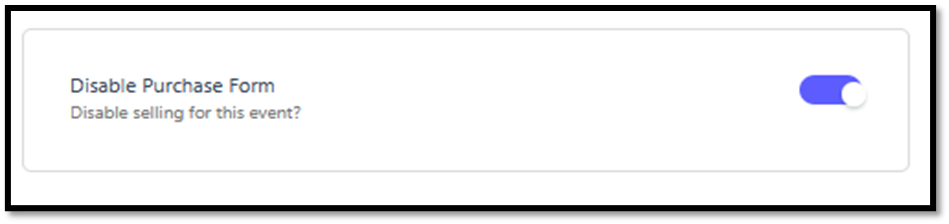
6. Disable Ticket Purchase Form
Enable Disable Purchase Form to ensure no tickets are sold.
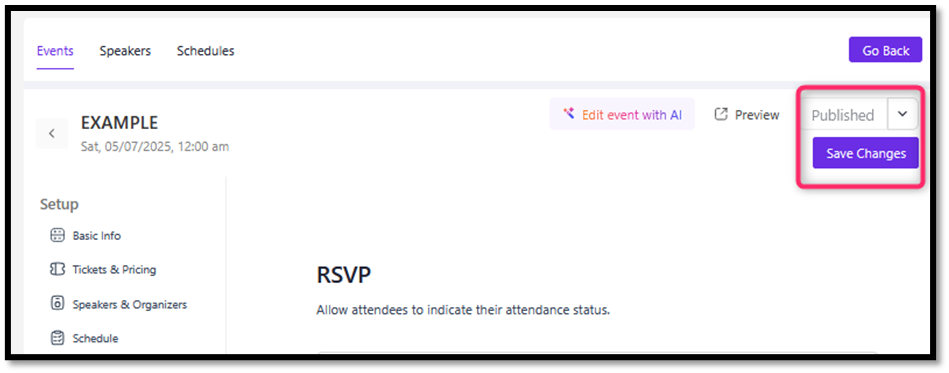
7. Save Changes
Click the Save Changes button (top right corner) to save all settings. Click the “Publish” button to publish and share your RSVP.